
Hey Folks,
I wanted to share my discovery of Veeam v13 beta with you.
I had undertaken the same work so I'm sharing my version with you. On my side, in this first post I go a bit further by presenting the Host Management part. I wish you a good read!
1. Veeam Software Appliance
One of the flagship announcements at VeeamON was the release of the Linux appliance version - yes, Veeam Backup & Replication is switching to Linux. (The Windows version is not deprecated for now, so don't worry).
Objective: we want a product that performs backups without having to worry about maintaining operating systems.
In this first article, we will cover the installation process of this new appliance, based on Rocky Linux, and the use of management consoles.
 Reminder: We are testing a beta version here. Some features are still missing, incomplete, or might not even make it to the final version.
Deployment: In this Beta version, to deploy V13 as a virtual machine, prerequisites are necessary:
- Having two hard drives of 256+ GB each is mandatory.
- I allocated 4 vCPU and 16GB vRAM.
- Rocky Linux as OS type, since that's what Veeam uses here. A paravirtualized SCSI adapter will be used by default.
Additional Information:
The WebUI user interface design is 80% of the final rendering.
Installation
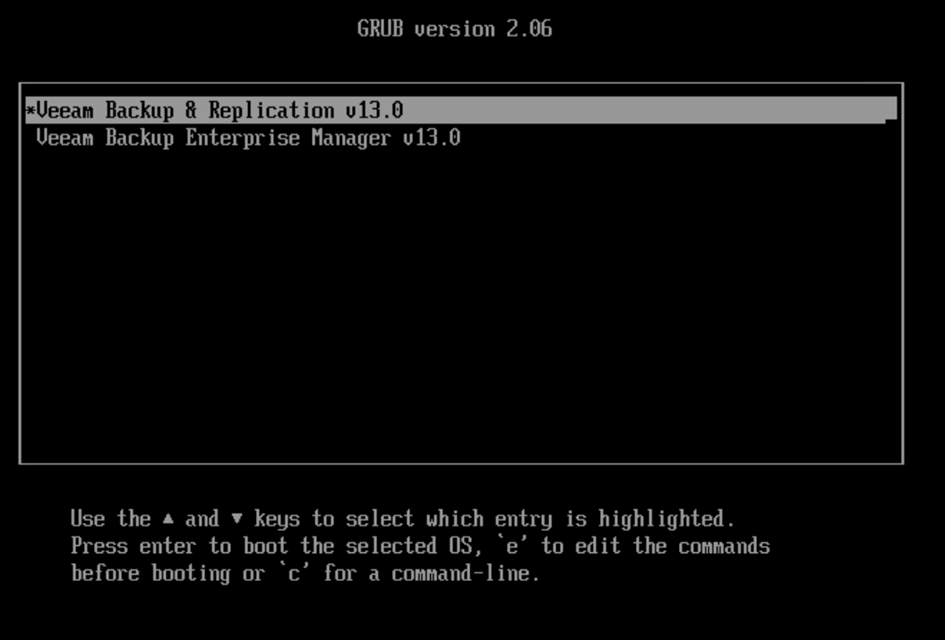
Once the ISO is attached and the VM is started, a GRUB menu appears with two options:
- Install Veeam Backup and Replication (VBR)
- Install Enterprise Manager (VBEM)
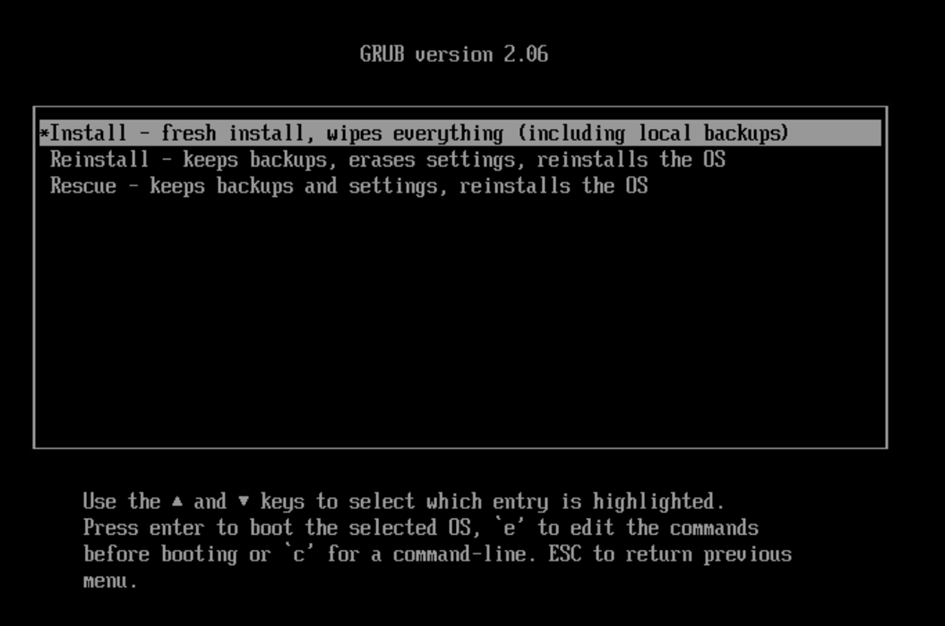
Here we deploy VBR. The next choice is whether we want to perform a complete installation, reinstall, or repair a failed installation. Since this is a first installation, we choose the first option. Warning: this will erase all your data and backups that might already be present in the system.
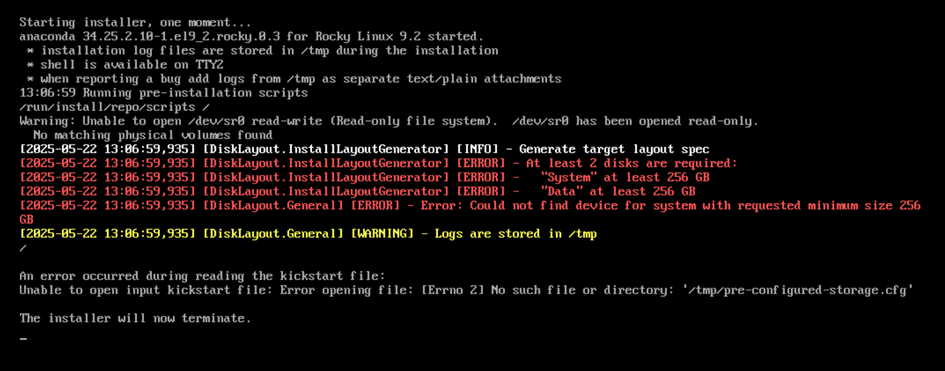
The installer checks that the prerequisites are properly met, for example if we don't allocate two 256GB disks:
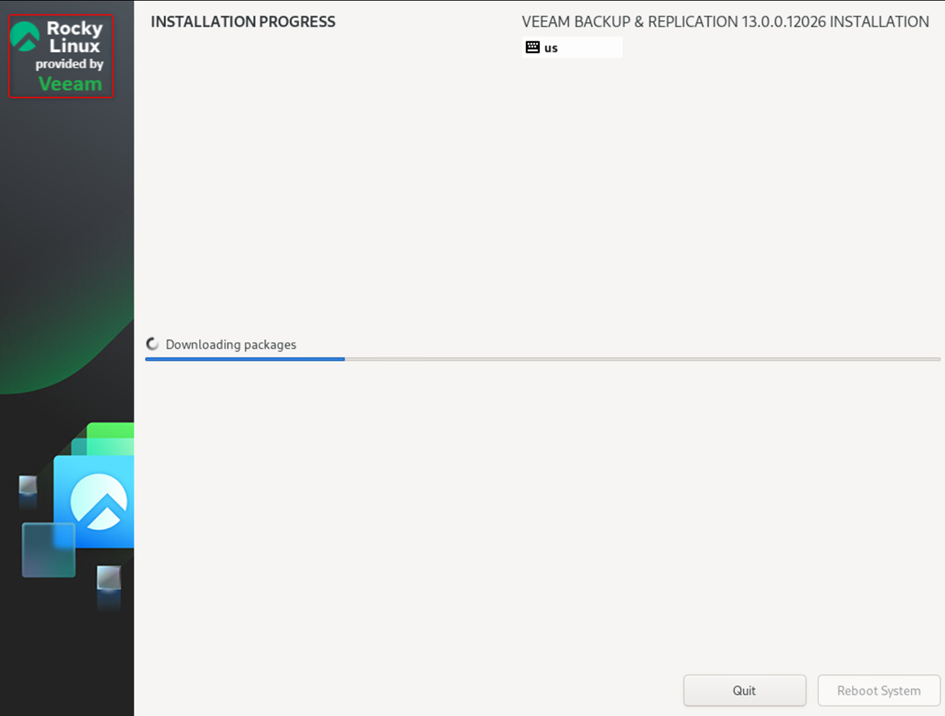
If the prerequisites are properly met, the installation starts. We see the indication that a Veeam-adapted version of Rocky Linux is being used.
Once the installation is complete, simply reboot the system to launch the appliance configuration.

During startup, we have the choice to boot on different partitions: Rocky itself, a rescue system, or UEFI firmware settings.

Configuration
We will now configure our appliance. We accept the license agreements:

Define a name for the machine:

Next, configure the network part. If you have multiple network cards, it's possible to identify them with the MAC address. (IPv4 and IPv6 support)

Important step not to neglect: NTP server configuration, particularly in a production environment. This is a crucial point from a security perspective.

Define a password for the default administrator account. It's not possible to rename it at this step for now. Warning: the password must respect DISA STIG security best practices (number of characters, successive similar characters, etc...)

I recommend displaying the password when you type it:


2FA is mandatory and must therefore be configured in the next step. A code and optionally a QR-code are displayed on screen and can thus easily be saved in the TOTP authenticator of your choice.

A new role appears: the "security officer". This step is not mandatory but recommended. Configuring such a role requires validation from this user for certain actions such as backup data deletion requests by an admin.

The configuration is complete. Veeam displays a summary before validation.

We validate and TADA! Our Veeam server is operational. The console displays the hostname as well as the management address URLs.

2. Host Management
You will have the choice to administer your new Appliance via two consoles: the host's native console or via a Web interface. Code name: Cockpit!
Host Management WebUI
Admin Role
First method using the WebUI interface. Opening the session with the admin account.

Security requires two-factor authentication.

This new interface allows administration of our newly deployed appliance with the possibility, for example, to:
- Network configuration
- NTP configuration
- Create new users
- Updates
- Log export
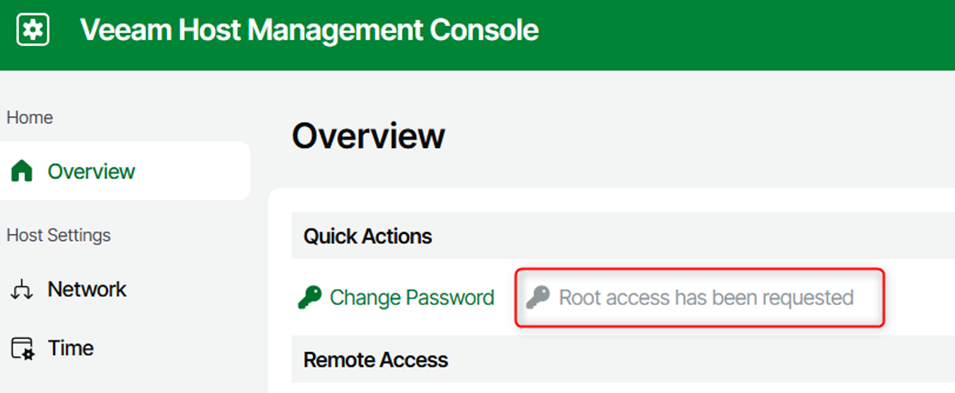
The home page is an overview of the global configuration.

- Host Settings
A) In the Network menu, we have the possibility to:
- Edit the hostname
- Add DNS servers
- Join the machine to the domain (not recommended)
- Edit network configuration

These actions do not seem to require Security Officer (SO) approval for now.
B) The Time tab allows:
- Modify time servers
- Check synchronization
- Modify timezone
- Security
A) In the Console Access menu, to increase security we have the possibility to disable this Web interface and force connection via the host console. Warning: the SO account does not seem to be able to authenticate on this console.
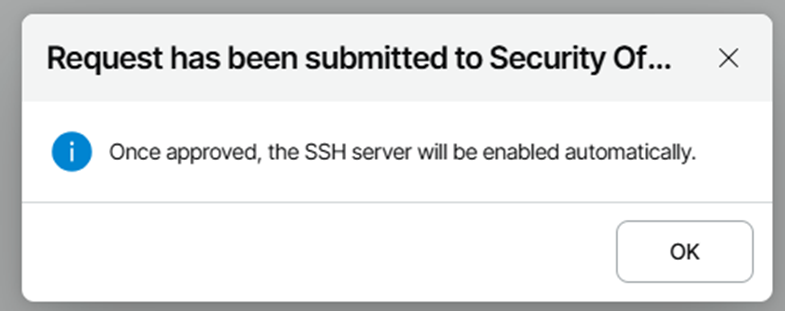
We can also enable the SSH Service. I strongly recommend leaving it disabled by default; its activation will only be necessary for debugging. Activation is subject to SO validation.
A second action will be required to access the root account.

B) Users and Roles
We can in this tab:
- Create new users
- Modify existing accounts
- It's possible to rename default accounts (Tip: It's recommended to modify default values)
- Reset password or MFA
 Deletion of a privileged account is subject to SO approval
- Integration
A) The Applications menu will allow enabling additional options such as authorization for Data Collection which will certainly be used for integration with Veeam One. This integration will be valid for 60min. Similarly, the SO must validate the action.
A new feature that appears: "Veeam High Availability". Similarly, before being able to activate this feature, the SO must validate this action.

B) The Updates menu - its name is quite evocative. This is where we can check updates made available by Veeam. (Similar to what we find for example with Veeam for Azure)

- Audit (I think this menu is poorly named)
In the last tab Logs and Service, we can perform numerous actions such as:
- Manage services (Stop/restart)

- Import/export configuration files

- In the Events tab, we have logging of all actions performed on the interface.

- And the last Logs tab allows generating logs for Veeam support requested when opening a case.

Security Officer Role
Let's now open a session with the Security Officer account.
Since the account is intended for a second person (Security Admin, CISO, ...), it's required to reset the password during the first session opening.

The user must activate MFA:

We get the recovery token, to be kept in a safe place.

Once this setup is done, we have a streamlined page compared to previously. As a reminder, the SO role is to validate certain actions and audit events if necessary.
We find the requests submitted previously, which we can approve or reject:

In the Events section, we have the possibility to filter events to more easily search for a specific action.

Host Management Console
The second method is to use direct console connection.

Again, it's necessary to specify the MFA code:

Let's browse the available options:

- Host configuration
Here we have the possibility to modify:
- Edit the hostname
- Add DNS servers
- Edit network configuration
- Edit NTP part

- Remote Access configuration
Here we have the possibility to disable the WebUI management console and enable SHELL access (This action requires SO approval)


We then have the possibility to restart or shut down the Appliance.

SSH ACCESS
In order to open an SSH session, the administrator must make a request to the SO.

The service will be available for a defined time.
The admin account can open an SSH session with their username/password.

 ♂️)
♂️)